
FurnishYourself.com: How about giving your quaint little kitchen a makeover this season? Its possible to give your kitchen a fresh look by just following a few simple DIY (Do It Yourself) steps and the results will leave you in awe! You can also use this method to give a facelift to the other rooms in your house.
Keep in mind that you need to plan this ahead so that you have all your supplies before commencing this DIY project.
After all, just a little bit of hard work, time & a few supplies is all you need to create something beautiful and memorable (and brag-worthy too!)
Let’s get started!
Step 1: Supplies
- Primer
- Base Coat Paint – White
- Protective Coat
- Compare
- Foam Mini Paint Roller designed for use in cabinets with Extra Covers (Primer)
- Foam Brushes (Primer)
- 4 – 2 inch Angled Synthetic Bristled Paint Brushes (Base Coat Paint and Protective Coat)
- Paint Can Opener
- Wood Stirring Stick
- Paint Tray (for use with roller)
- Paint Pail/Cup (for use with brushes)
- Clean rags to wipe up spills and drips
- Plastic Razor Blades or Scraper
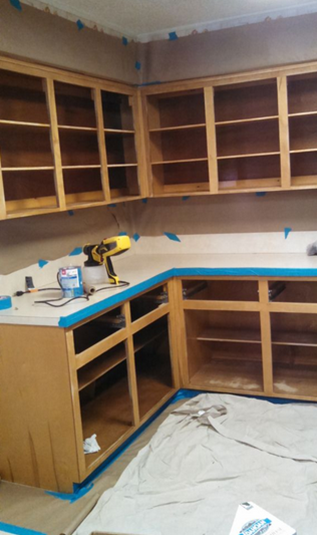
Step 2: Clean up & remove cabinet doors
First of all , empty all your kitchen items from the cabinets & the platform and keep them away from your work. In order to give a neat & lasting look to your kitchen cabinets, its important you thoroughly clean all the dust & grease over the cabinets.
After cleaning, dismantle the cabinet doors taking out the screws & hinges. Place them in a safe place so that you don’t misplace them. Clean these hardware items also incase you are reusing them or just replace it with some new hardware.
Step 3: Sanding & painting

With the use of sand paper, level all uneven surfaces from the wood. Sand the wood evenly and not on one location only. This process is important to get a nice flat surface for the paint to give a lasting smooth finish. Also, for longer use of the sandpaper, it is recommended you make sure you dust it periodically. In this case a 120 grit sand paper would be good.
Now take a damp cloth and clean off all residual dirt & saw dust.
Its time we prepare the kitchen for the painting process. Place drop cloths on walls & floor so that you don’t end up messing things up. Use painter’s tape to seal all the areas of the kitchen where we do not want the paint to fall.
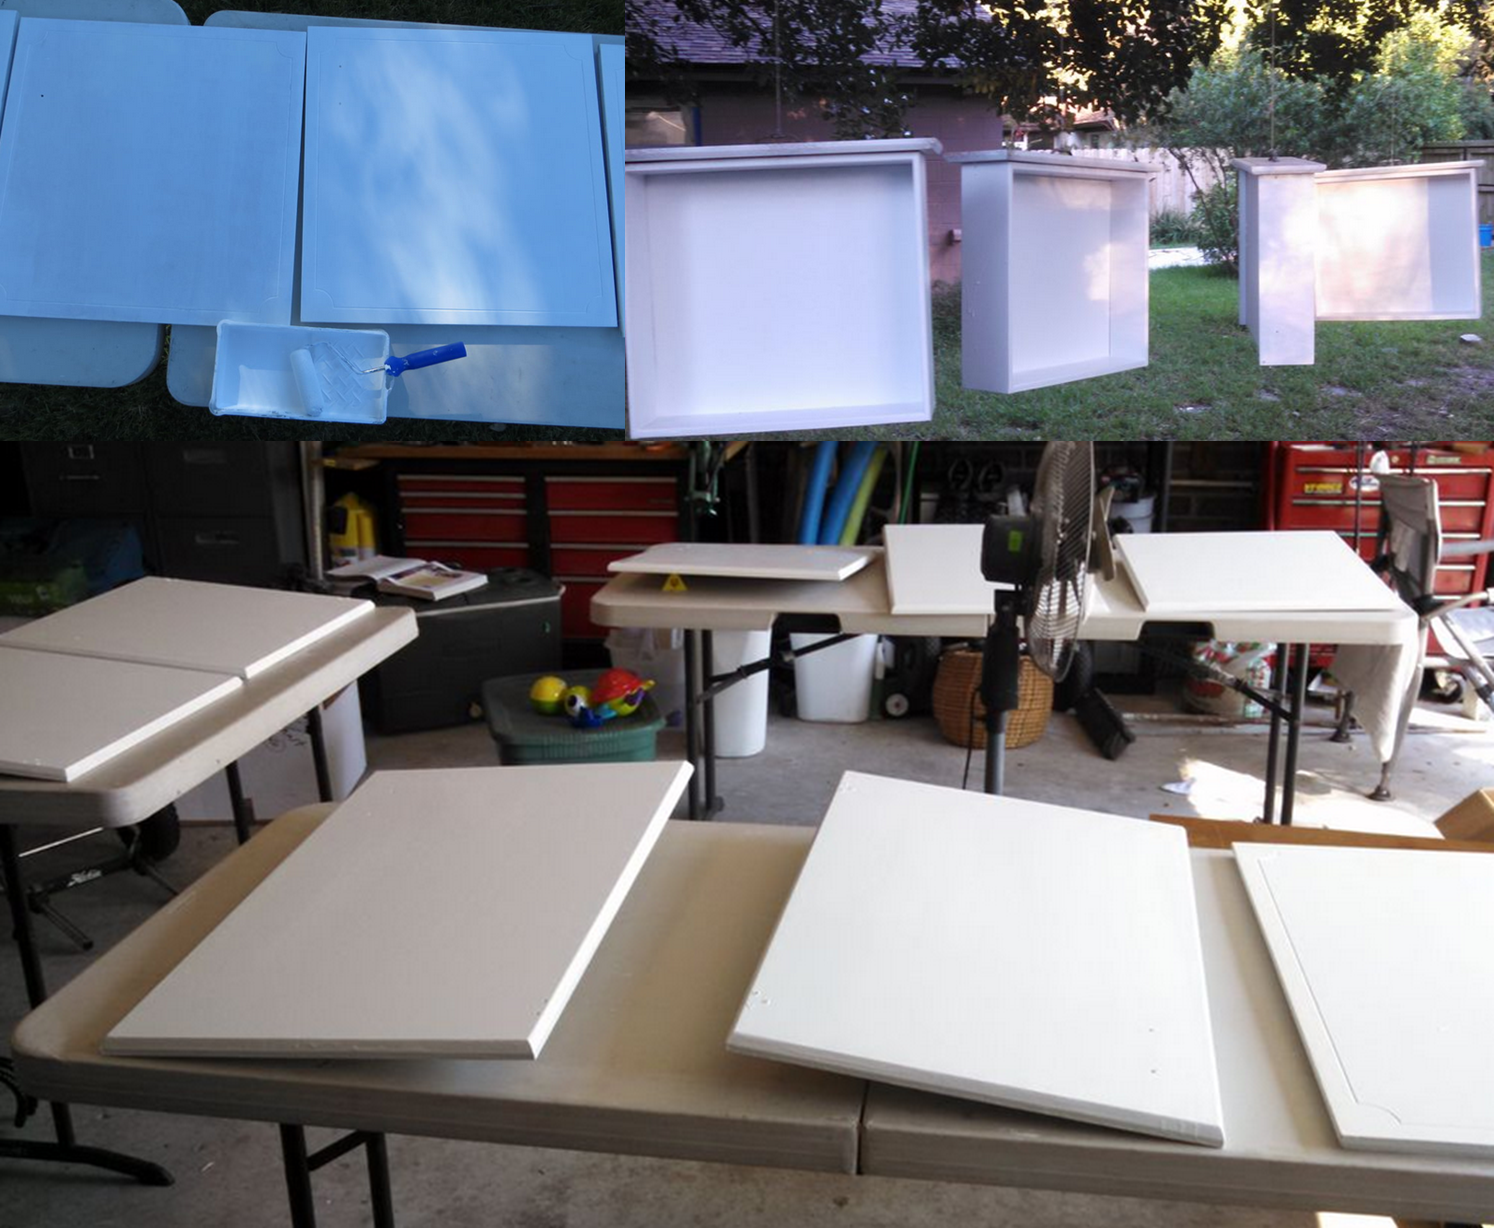
Use three types of paint coatings- Firstly use the primer coat, then the base coat and finally the protective coat paint.
Use brushes thick enough for lesser strokes. For ease in painting, spray paint & sponges helps covers the nooks & corners where its difficult for the paint brush to reach.
Leave the paint to dry for atleast 36 hours.
Step 4: Putting it together
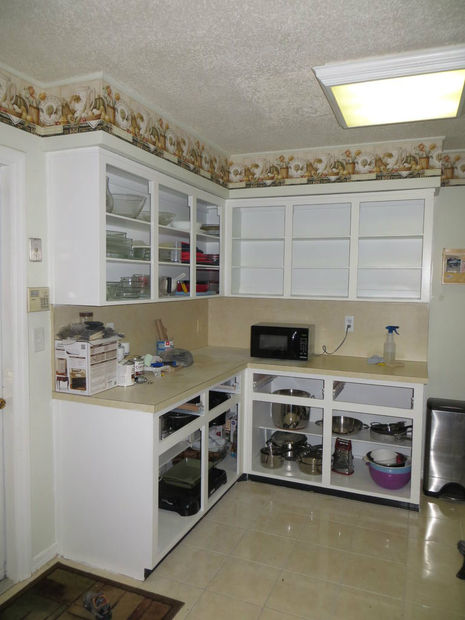
After the paint is dry, its time to get your cleaning equipment and clean up the remaining mess.
Once cleant, change the hardware (handles, hooks etc.)
Fix back all the shelves and cabinet doors with new hardware and return all your kitchen items in the shelves. And this is your kitchen’s transformed look!
Photo credits: Instructables.com


