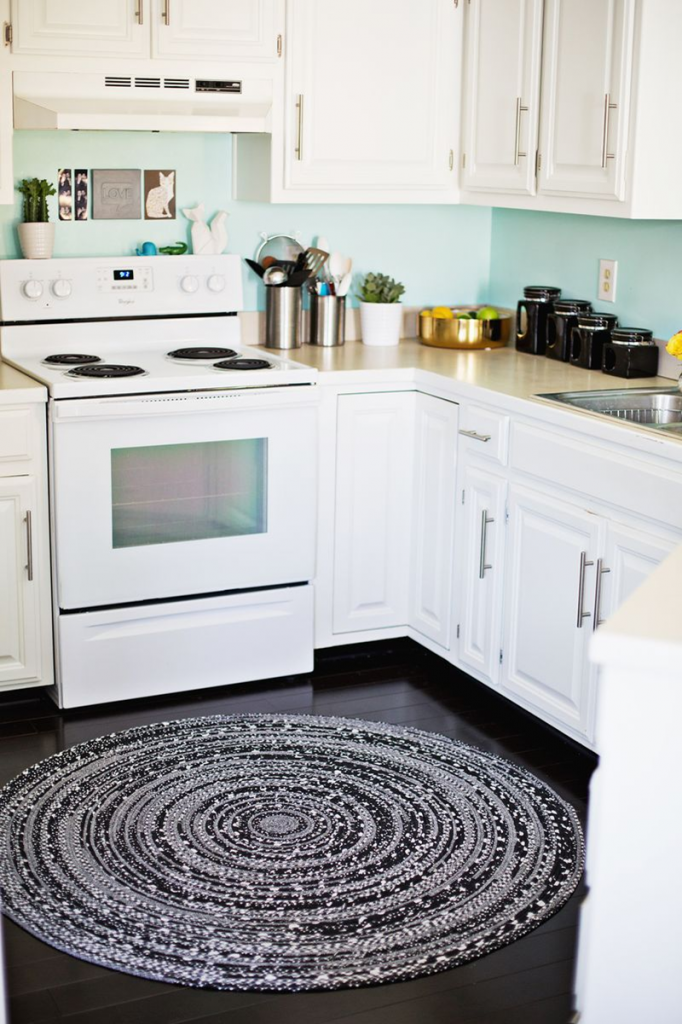
Do you think you can make a rug at home? Yes, all you need is some time and few supplies and your kitchen could look like this! So Let’s get started making a simple DIY (Do It Yourself) rope rug.
You need:
4 multipattern cotton bedsheets (Experiment with color and pattern)
Fabric Scissors
Marker
Clothesline rope -3/4 bundles
Standard Sewing machine
Getting the fabric ready
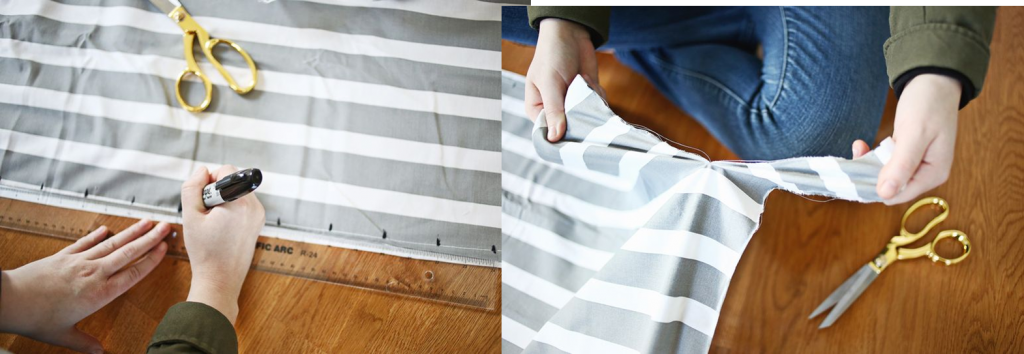
Step 1: Get started by spreading out bedsheets on a flat surface. Mark out points within 2” intervals across the long end of the bedsheet using the marker. Make a 3” cuts at each marker point with the scissors.
Step 2: Once done, tear the bedsheet evenly into strips of 2”. Arrange fabric strips as per color and pattern
Making the rope
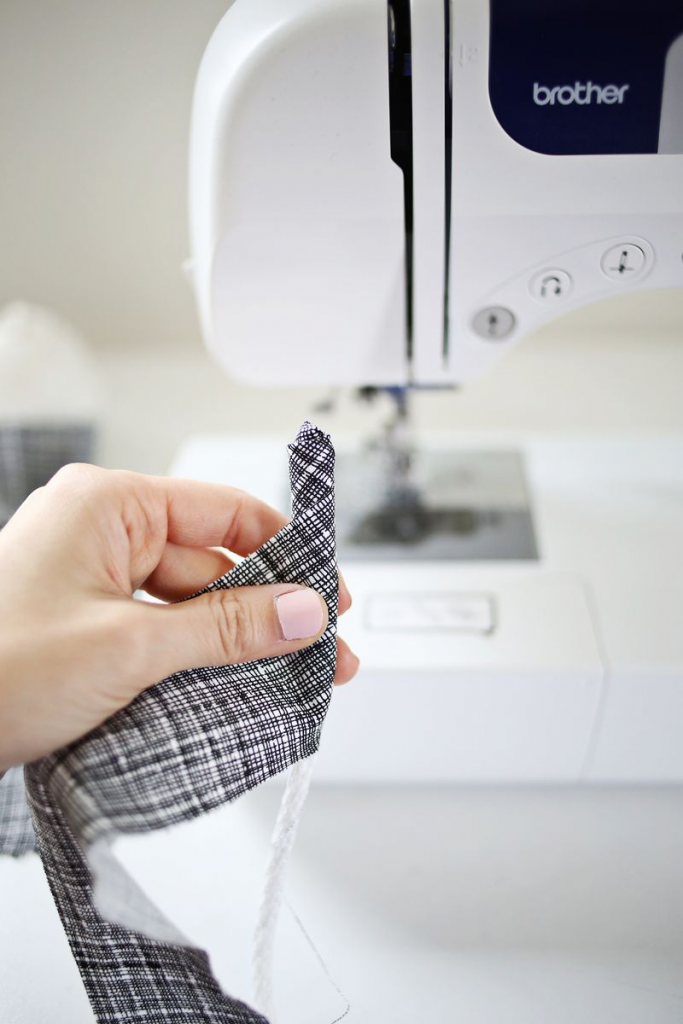
Step 3: Start wrapping the fabric around the clothesline rope in a circular fashion. Ensure the fabric adequately covers the rope without gaps. Once a foot long rope is wrapped, run it across a sewing machine fitted with a heavy needle and longest stitch length, sew the rope and fabric together.
Tip: As sewing continues keep the machine needle in the rope and wrap the fabric at a slight angle/diagonally
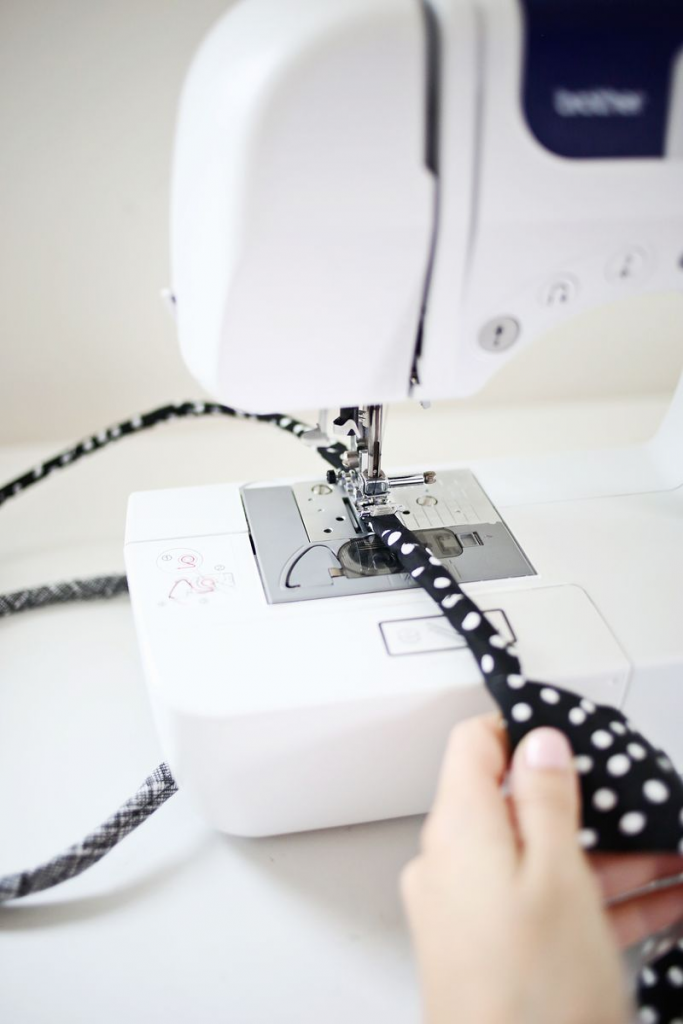 Step 4: Continue till about 10” of wrapped & sewn rope is ready with one fabric pattern. Repeat with remaining 3 fabrics without cutting the rope.
Stitch the rope rug together
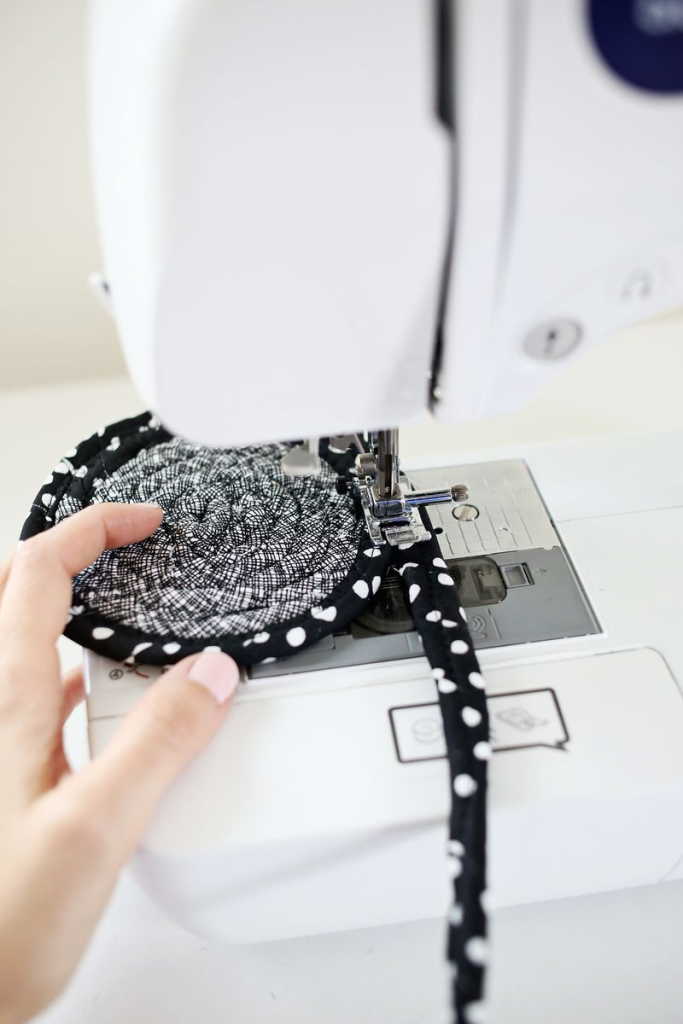
Step 5: Start coiling the fabric rope clockwise to form a circle. Stitch together with zigzag setting so that the ropes are sewn together. Add circles & change fabric prints as the rug getts bigger
Tip: Make sure the rope is steadily coiled without pulling it, this will keep the rug from curling up. Use a large table to support the rug as it gets bigger
Step 6: Then secure the loose end of the wrapped rope and stitch it down the middle of the rug using the zig-zag stitch.
Tip: To fix mild wavy portions and curls on the rug, iron it out with the high steam setting on.
And Voila! You have a beautiful rope rug to adorn your living room or bedroom.
Estimate time taken for a 30″ rope rug: 6 hrs
Photo Credits & Source: ABeautifulMess


