FurnishYourself.com: It is undoubtedly nicer to cover your wall plates or switch boards with wall paper along with the walls to give an artistic feel, instead of making it look like an odd man out on your artistic wall. You can however make them merge into your wall design, by just following a few simple DIY (Do It Yourself) steps.
Let’s get started:
Step 1: Tools & materials
Tools:
- Scissors
- Small flat-bladed screwdriver
- X-acto or other small knife
- Rubber gloves (optional)
Materials:
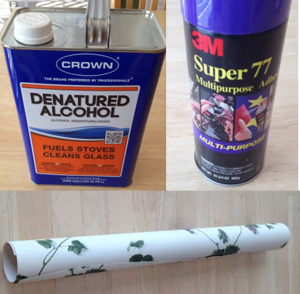
- Matching wallpaper (you saved the leftover roll, right?)
- Denatured alcohol, or similar solvent
- Spray adhesive
- 2ft x 2ft or larger square cardboard
Step 2: Preparing the wallpaper for the wall plate
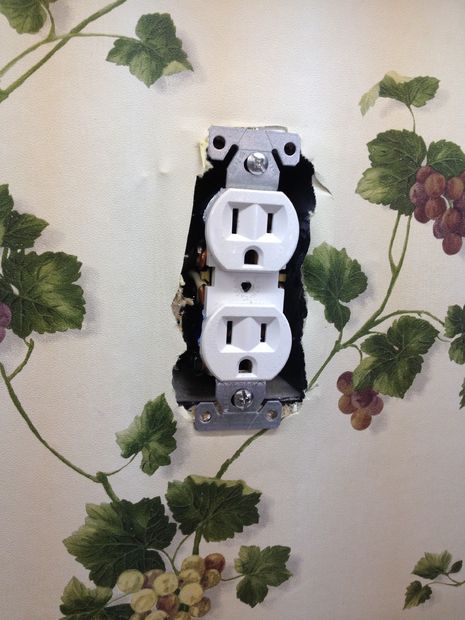
Unscrew and open the protective cover of the wall plate. Measure & cut a piece of the wall paper which matches the pattern that will come over the wall plate.
Step 3: Covering the wall plate
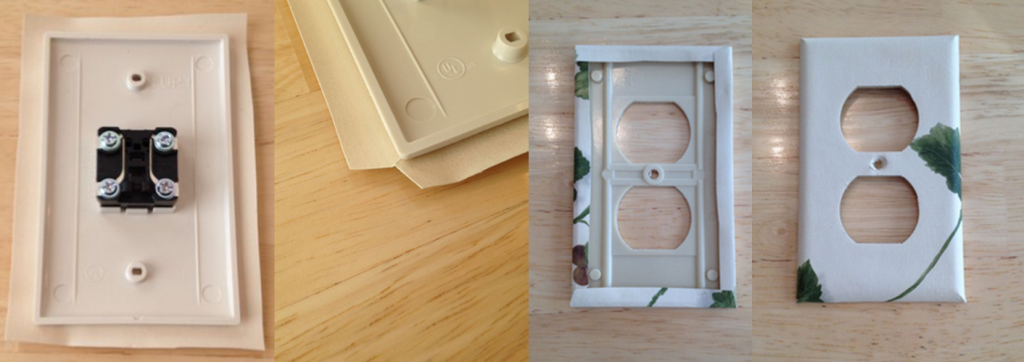
Before you begin, clean the wall plate thoroughly and apply a medium even coating of adhesive on both the wall paper & the wall plate. Place the wall paper such that it matches the wall paper pattern on the wall and cut the opening where the plug pints are. Hold the wall paper & wall plate together tightly. Trim the wall paper neatly & the edges also as shown in the picture and glue it all up. Make sure you use good quality adhesive and not the cheaper substitutes else they peel off.
Step 4: Fitting back the wall plate
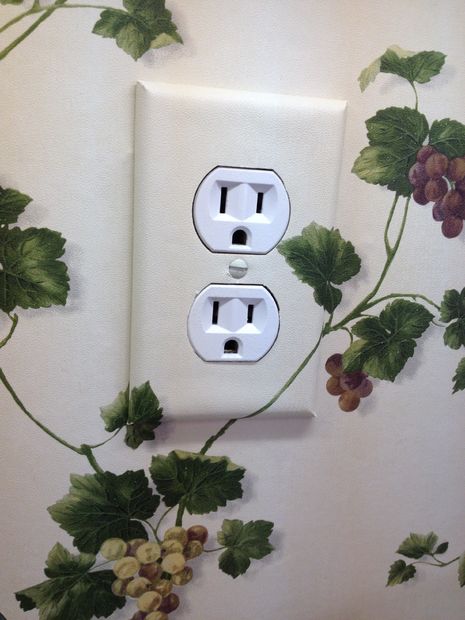
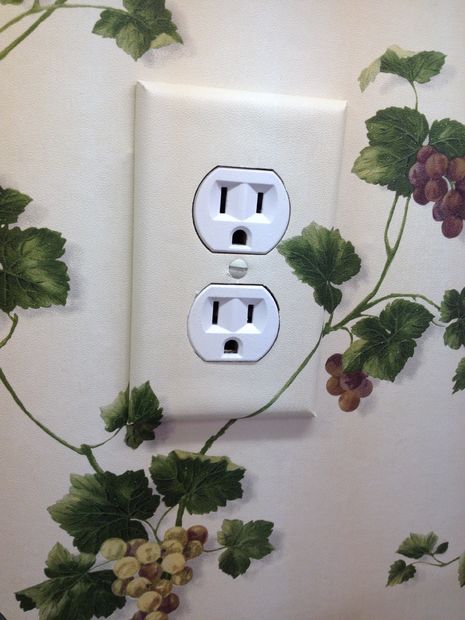
Now its time to carefully fit back the wall plate which will match with the design of the wall paper hence making it invisible. As far as the screws of the wall plate are concerned, you can buy ready made colored screws to match the color of your wallpaper or simply paint them with acrylic paint.
And this is how your wall would look like once you make that odd wall plate invisible!

