
We are always looking for furniture with good storage space. So why not make it yourself? It can be used for any room in your house as long as you know what you have in mind and where you want to use it.
Here’s a cool DIY (Do It Yourself) project on making a bench with storage area.
Step 1: Materials
-4′ x 8′ sheet of 3/4″ hardwood ply
-4′ x 8′ sheet of 1/8″ DPI board
-wood glue
Tools:
-table saw
-miter saw
-nailer
-pocket hole jig
-drill
-measuring tape
-pencil
Step 2: Cutting out the wood
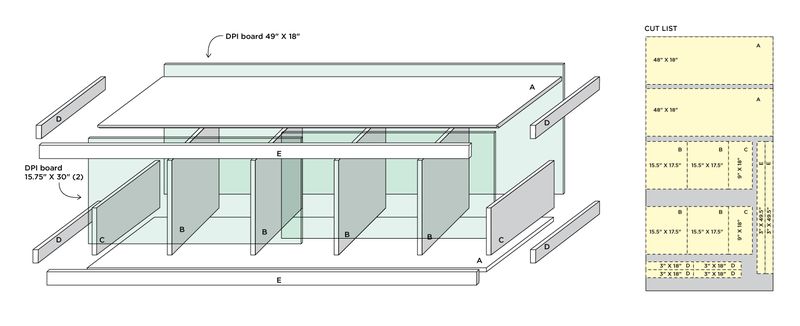
Cut the wood into pieces as shown in the above diagram.
Step 3: Drilling holes
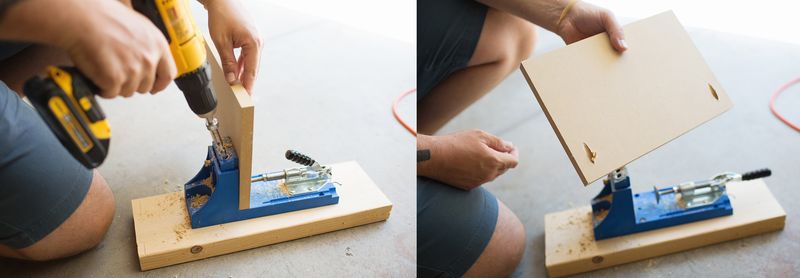
Time to drill pocket holes! As per the diagram, all B pieces need to be drilled on top & bottom sides and D pieces need holes only at the bottom.
Step 4: Assembly
Assemble all the pieces of wood as shown in the diagram. You can first measure & mark with a pencil each piece 9″ apart. Then begin by gluing the wood pieces and then screw into pocket holes.
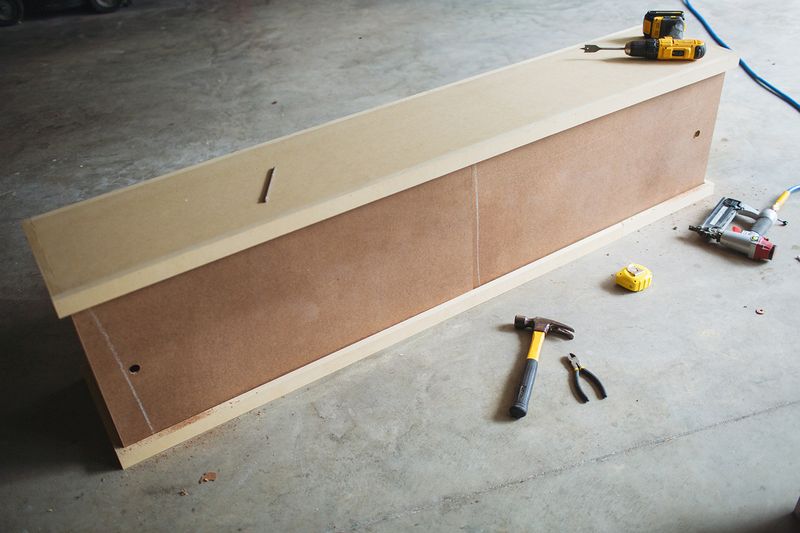
This is how it roughly looks like after placing the top & side pieces of wood. Also drill finger holes to easily slide the side doors.
Step 5: Paint
Paint it in the color of your choice. The paint used here is glossy white. This particle board will need three coats of paint for the color to look good. And your bench with storage is ready!
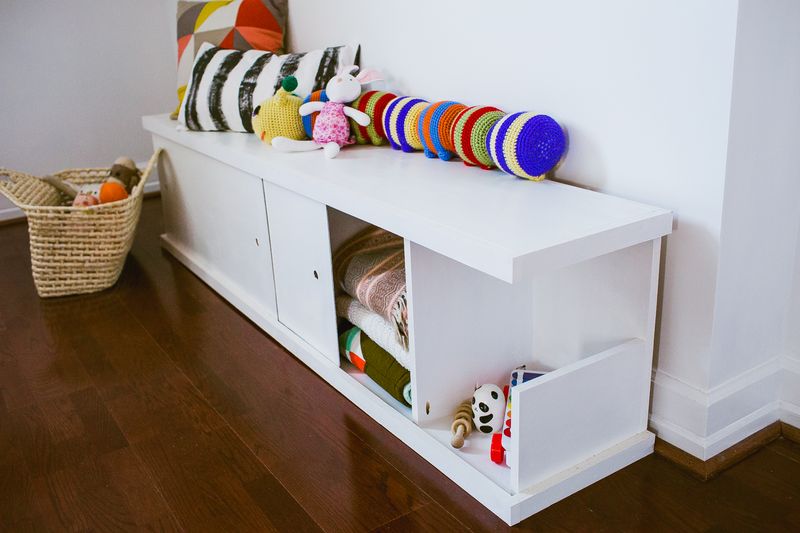
Wasn’t that simple?
Photo credits & source: abeautifulness.com


