
FurnishYourself.com: Headboards are generally made out of exquisite wood & have ornate carvings to make your bedroom look grand. This makes it impossible to get one without paying a hefty price.
If you want to maximize your ROI (return on investment) on the queen-sized bed you just purchased OR just want to renovate your bedroom, read on as we cover 7 DIY steps to design your antique headboard in less than an hour with a minimalist budget!
Supplies needed:
- White wood ( which is just a composite of a bunch of different woods & less costly as compared to pinewood)- Any wood type could be used
- Drill
- Wood screws
- Wall screw
- Hanging wire ( About 35 gauge thick)
- Sand paper ( About 80- grit sand paper)
- Stain (optional color: Minwax Dark Walnut)
- D- Hooks (2 pairs)
Step 1: Cut up the wood ( preferably done at the home improvement store itself)
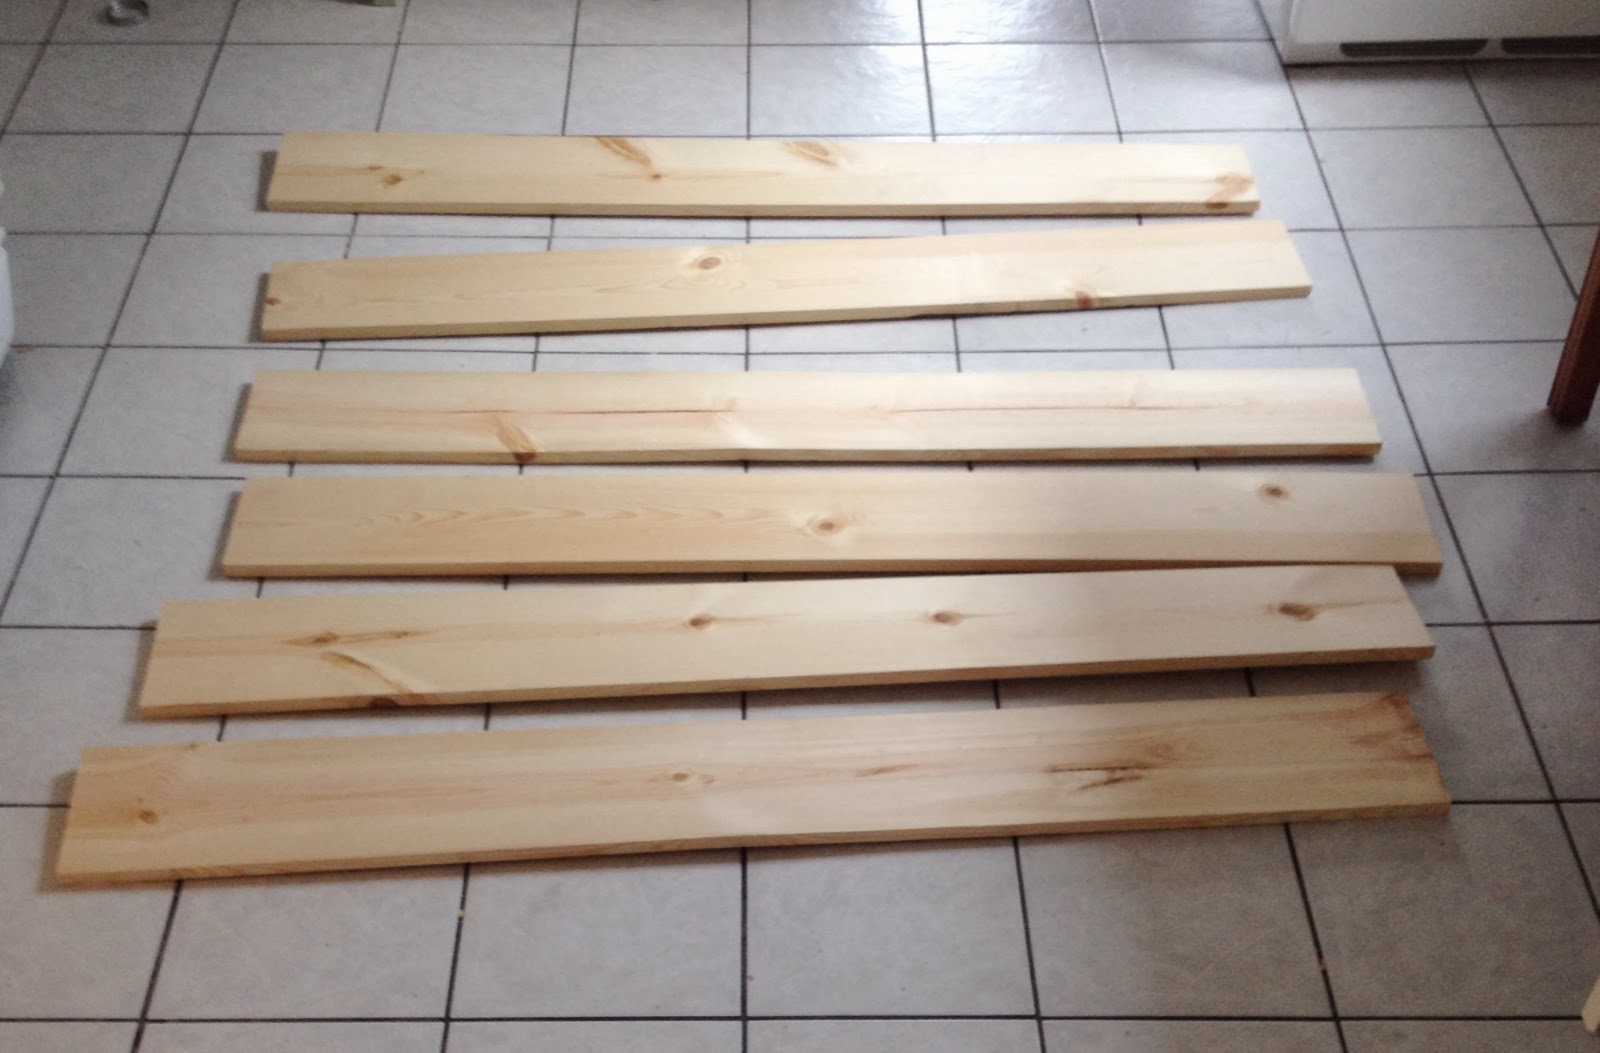
Ask your home improvement store to cut up the wood so that you have:
1) Five pieces of wood which is 1″ X 6″ and 60″ long.
(Here 60″ will change depending on the width of your bed, queen sized beds are mostly 60″ wide)
2) Two pieces of 1″ X 3″, cut to 30″ long
Step 2: Arrange the wood boards on the floor, ensure the good side ( smooth/ cleaner) is face down for all the boards.
Step 3: Once the boards are in order, place the braces ( the 1″X 3 “) on the wood so that its closer to the edge of the boards as possible. This makes hanging the headboard easier.

Step 4: Drill equidistantly spaced wood screws on the wood board through each of the braces (10 screws into each brace). Flip over the headboard to check if each piece is sturdy and not wobbly or loose.
Tip: Don’t fuss on the alignment and edges too much! Rough edges and uneven placement give the headboard a rustic look.
Step 5: Flip over the head board and scrub it with sandpaper. Use a paint brush to rub in the stain over the headboard (An old sock can also be used instead of a paintbrush to give that raw feel to it.)

Tip: Buff in the stain as long as you need to create the look you want to create
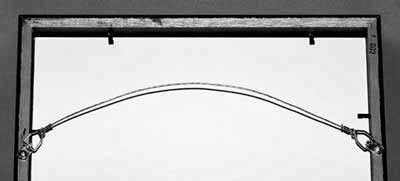
Step 6: Affix the D hooks at the center of the braces at the back of the headboard. String the hanging wire across the D-hooks. Below is a helpful illustration of the setup (Try to match this arrangement as much as possible)
Step 7: Adjust the headboard on the panel/wall behind the bed and drill in 2 screws to hang the headboard.
Enjoy the new look this rustic headboard gives to your bedroom!
Photo credits: Radical possiblity


