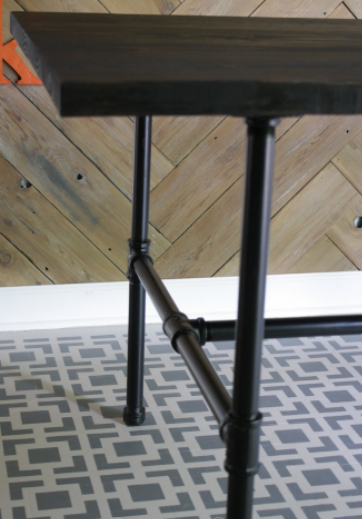
Turn over a new leaf by making this simple DIY pipe table in 5 easy steps.
Have you ever wanted a customized workshop table or just a simple eat-in table in the kitchen? Follow the post below for a step by step DIY update on the setting up your own PIPE table.
Supplies:
- Galvanized pipe {detailed cut list below}
- Black spray paint
- Three 2 x 10 x 8 pine boards
- Wood stain
- Screws
- Table saw {or circular saw and straight edge}
- Miter saw {or circular saw and straight edge}
Step 1: DIY Table cut list
All measurements INCLUDE the length that will be threaded and all pipes have 1 inch as diameter.
Here is the list of the measurements and number of units needed for each in parantheses
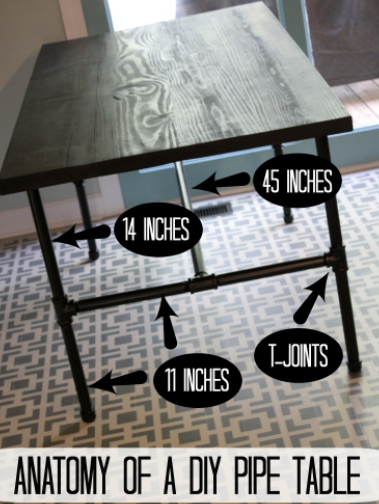
- (8) 11 inch lengths
- (4) 14 inch lengths
- (1) 45 inch length
- (6) t-joints
- (4) floor flanges
- (4) Galvanized iron caps for the bottom of the legs
Alternatively, one can visit the Hardware store and get these cut and threaded at each end instead.
Step 2: Assemble the table base
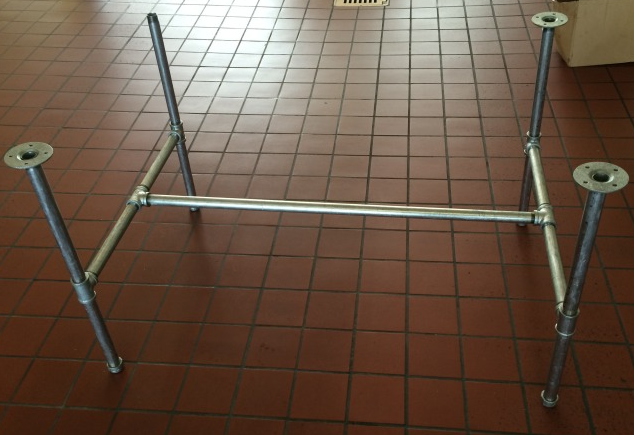
Start by cleaning all the grime and dust off the pipes. Refer to the picture on table anatomy and thread all the pieces together according to their lengths. Ensure the floor fangs face upwards while the pipe caps go on the bottom.
Step 3: Prepare the Table top
Arrange the 3 boards next to each other and cut one side off the outer boards (across the length, in this case 66 inches long) and both sides of the middle board
Next attach the boards together (along the length) using Kreg jig. Additionally make two braces with the cut out strips to reinforce the joints by screwing them directly on the wooden board
Step 4: Stain the wooden board
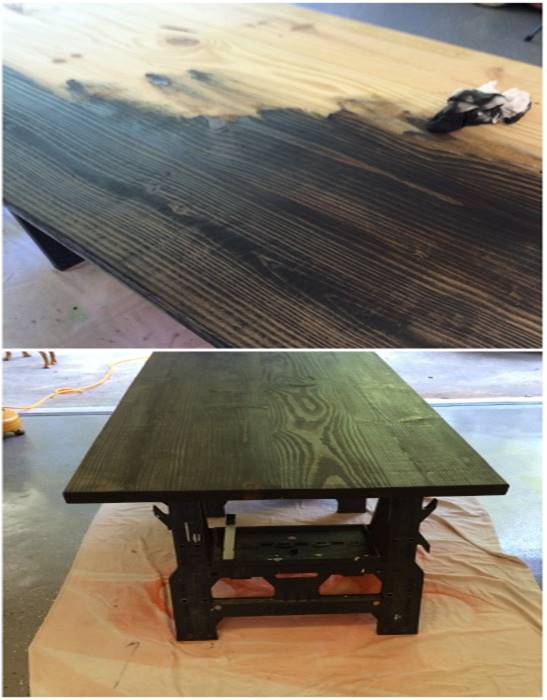
Sand the wooden board once and then apply 2 coats of Minwax Polyshades Gloss Wood Stain-Classic on the wooden board.
Step 5: Attach the table top
Once the stain is completely dry, attach it to the pipe stand made initially and your table is ready!
Source & Credits: Designer Trapped

